Townhouse (part1)

I’ve started a new project, called simply for now Project 3, and have a new Page devoted to it, please take a look. It’s based in a town and needs probably 10 buildings, so it seems like a great excuse to do scratch built medieval townhouses. I figure I’ll document the process here in case it helps anyone else.
The little farm buildings I did (see the page on 28mm scale terrain) are actually a little fragile as they are foam card and therefore hollow. I was wondering where to start with these until I remembered some expanded polystyrene packing I had squirrelled away in the shed. You know the stuff, breaks into little balls when you snap it. Great excuse to get myself a better foam cutter!

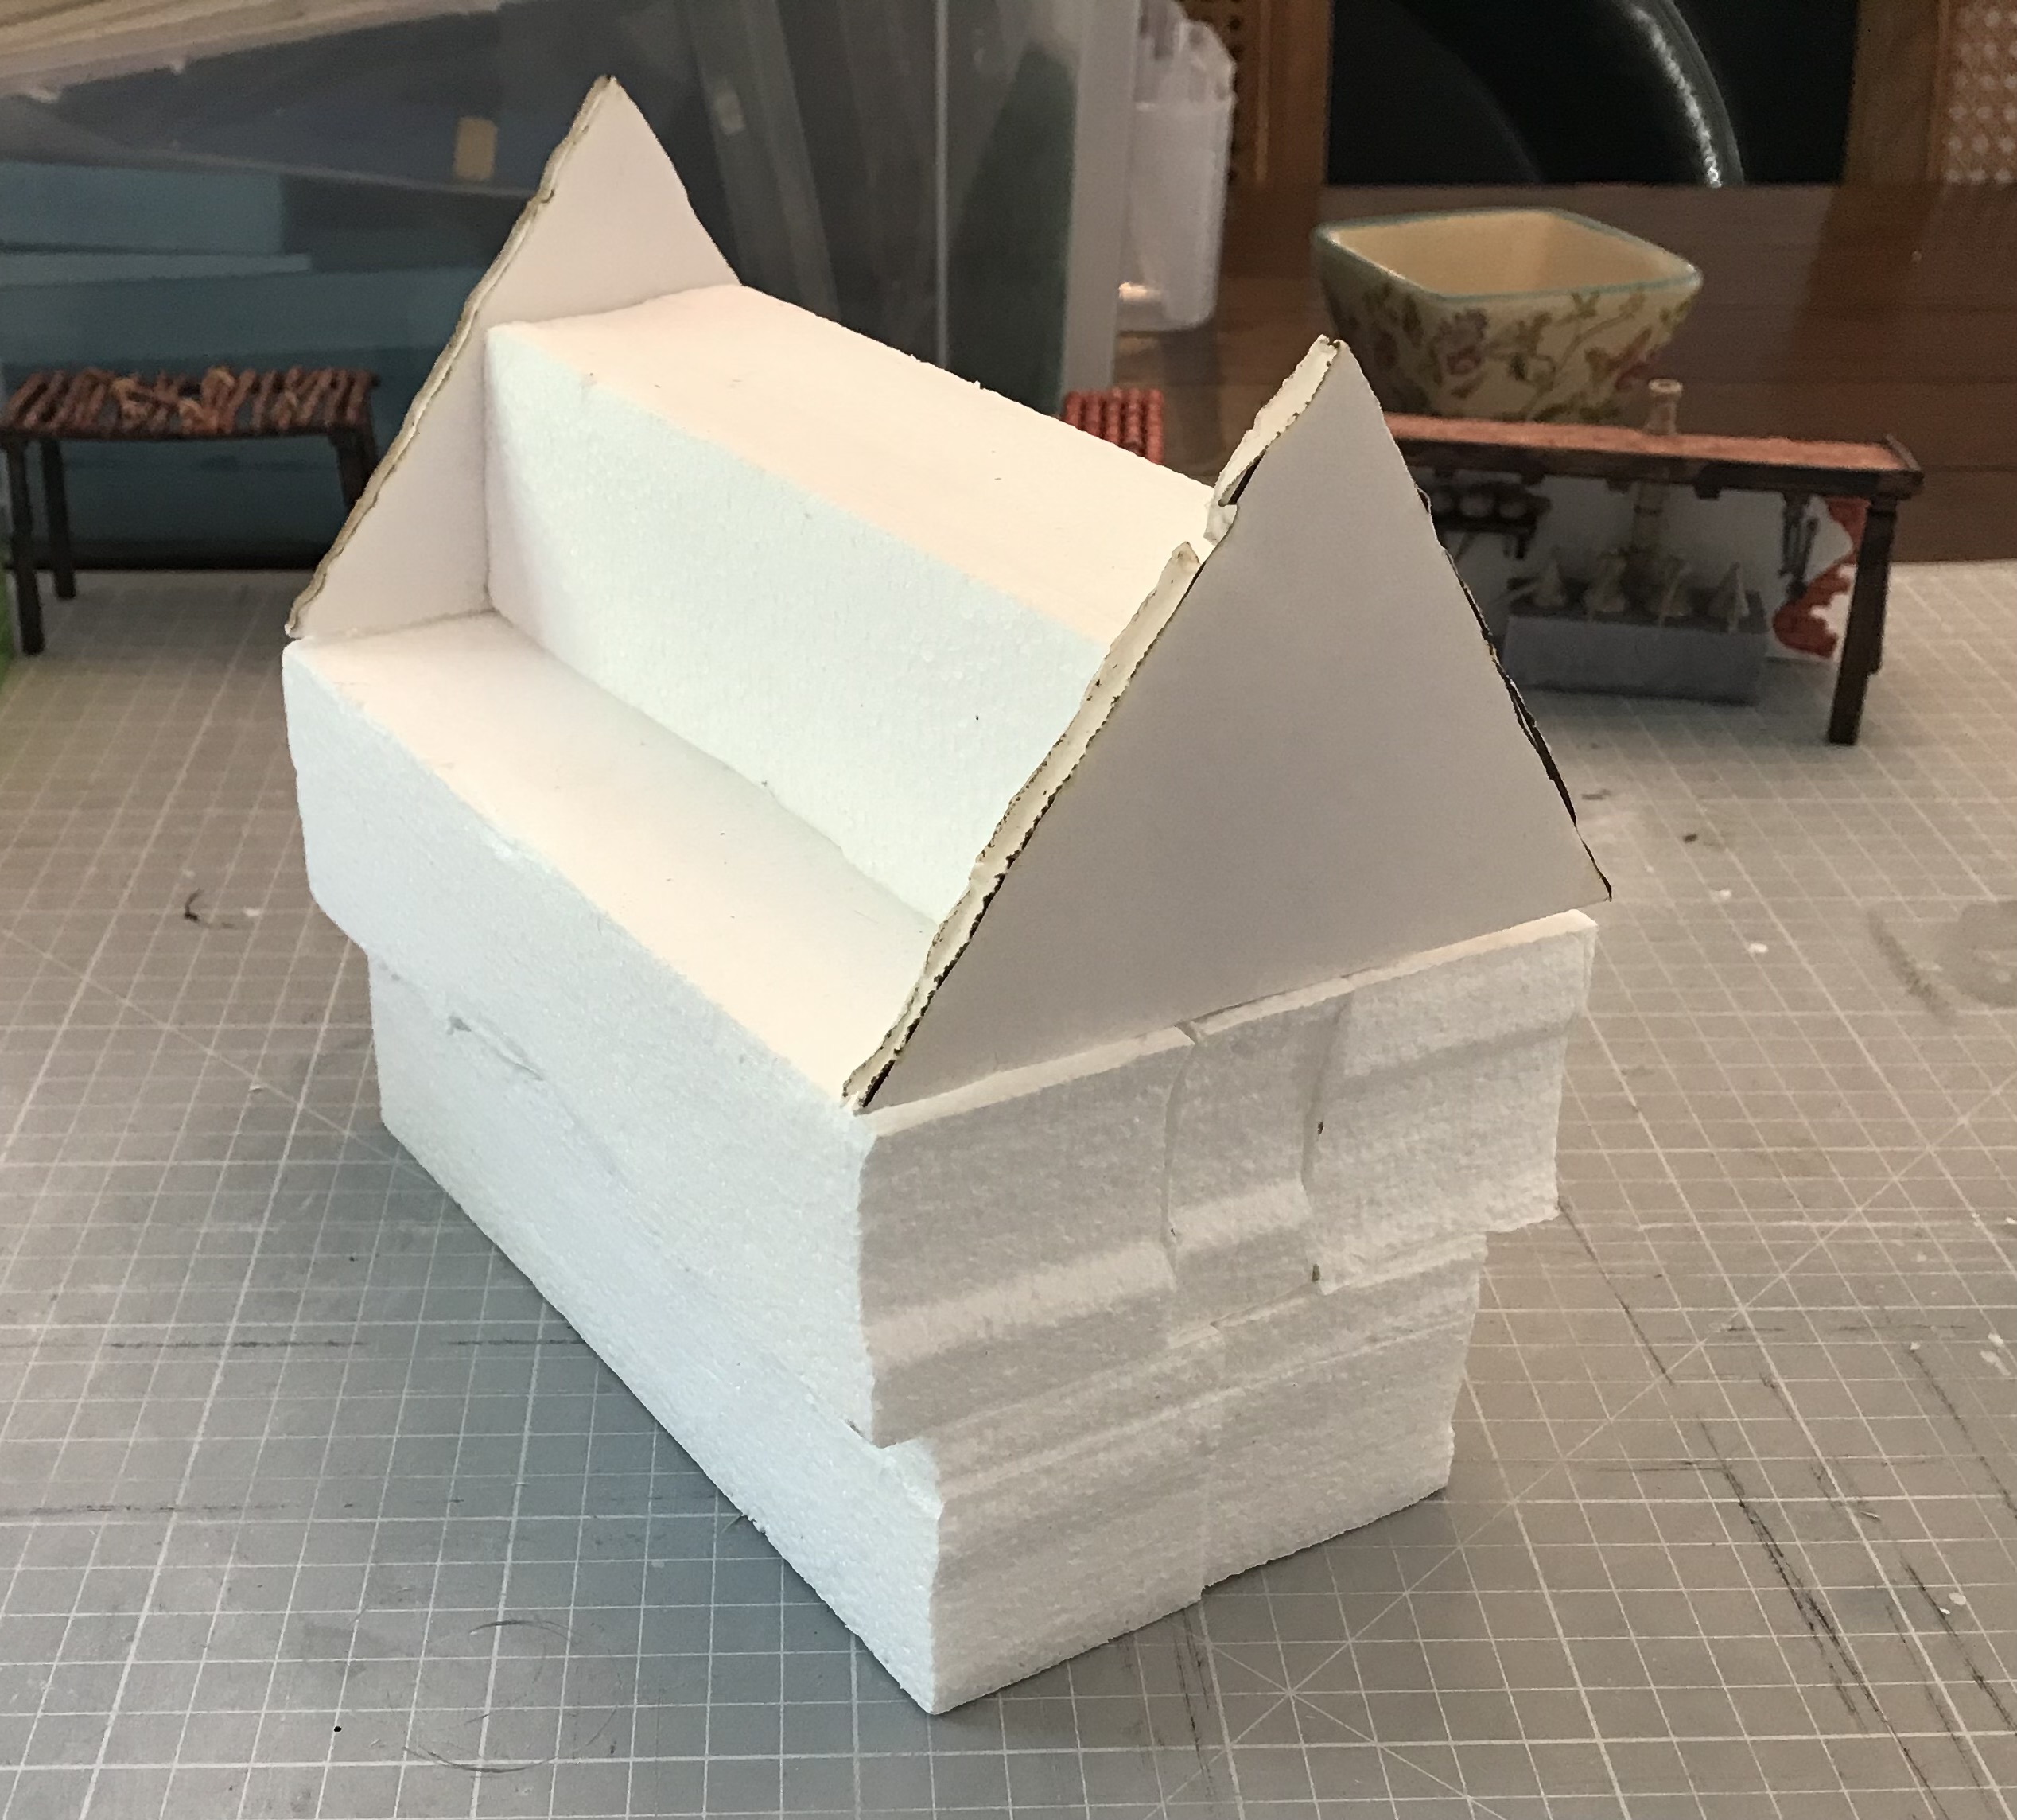
So here’s the core, recycled polystyrene packing and a couple of triangles of foam card, stuck together with the special Uhu contact glue for polystyrene (you can see the tube in a latter photo).
My wife’s ‘craft room’ is well supplied with materials, so adding all the exposed beams was a matter of coffee stirrers, lolly sticks, and matchsticks.

Cardboard roof, to be covered in individual cut roof tile later, was added before I then plastered the walls. This was a mix of acrylic paint just slightly off white and a bit of powered polyfilla mixed in.

Next up was painting in the beams, adding the door, and deciding silver painted card with black marker pen for the ‘leading’ would work for the windows. That gets me to the picture at the top.
Now I need to ‘frame’ the windows, paint the rest of the beams, and do the roof, so there will be a part 2 for this building, while I also think about L-shape buildings, maybe a balcony, external stairs, etc …


Comments
Post a Comment